TV Stand Remodel
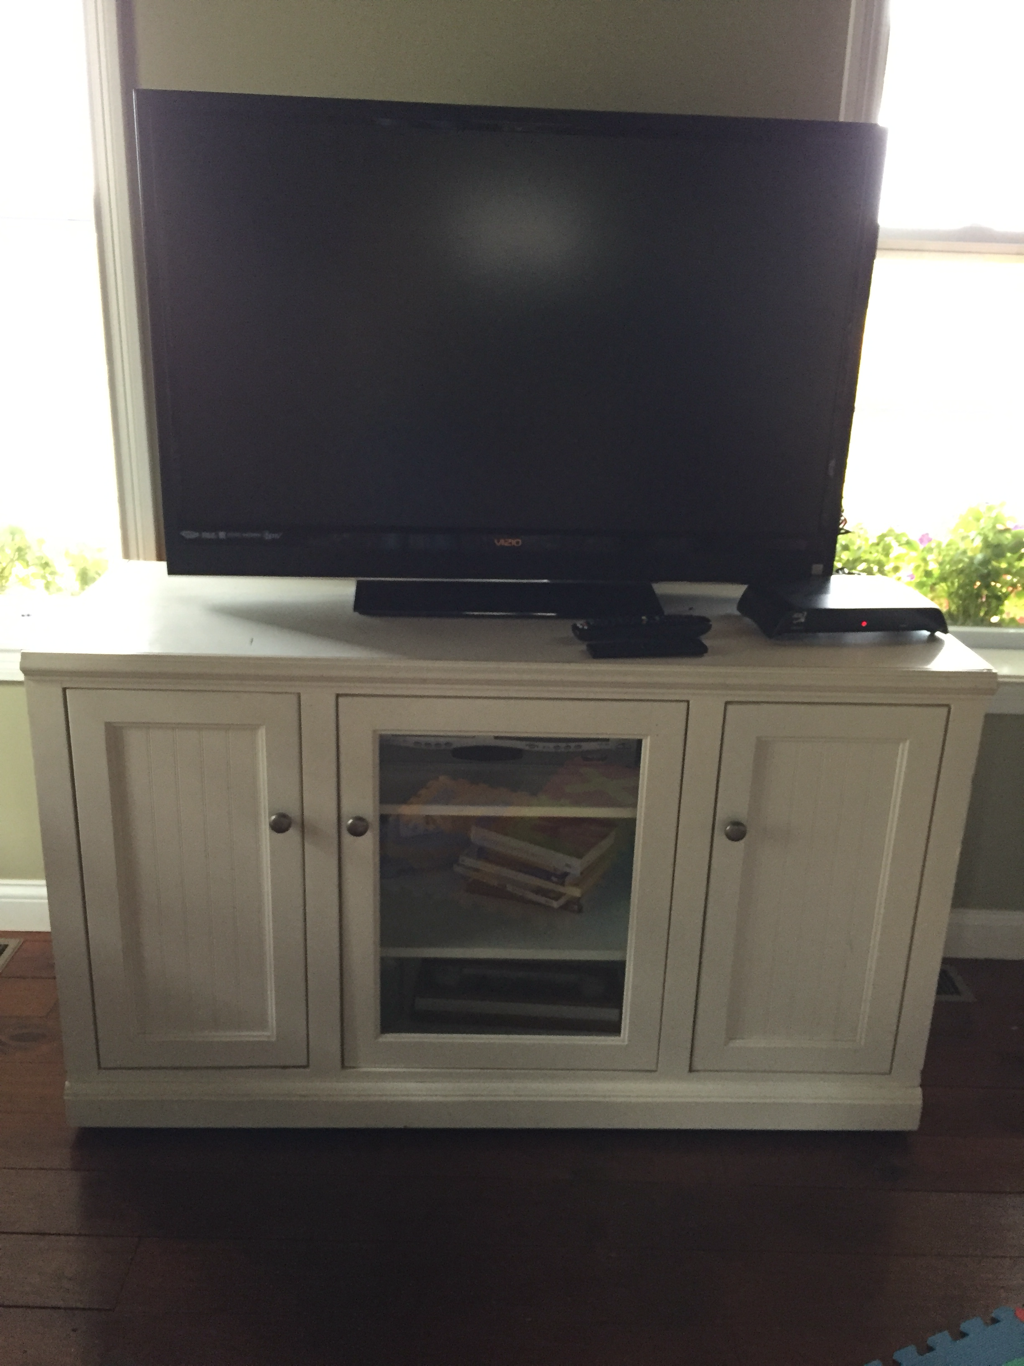
This is our plain white TV stand that we have had foooorever. We decided it needed a little color.
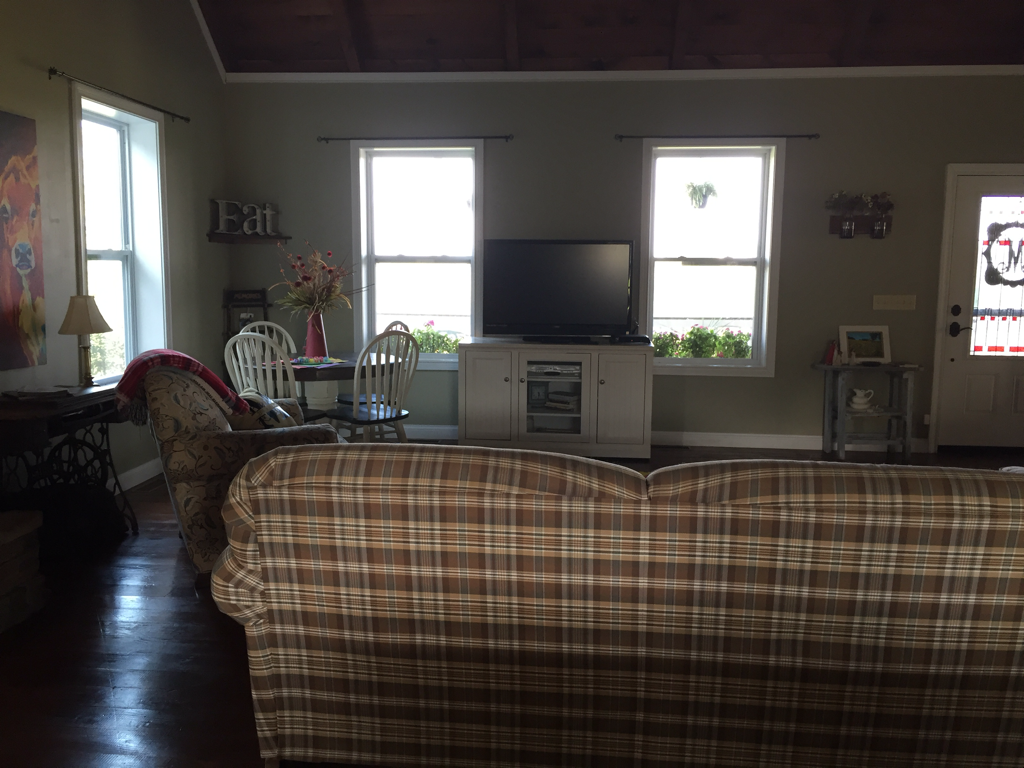
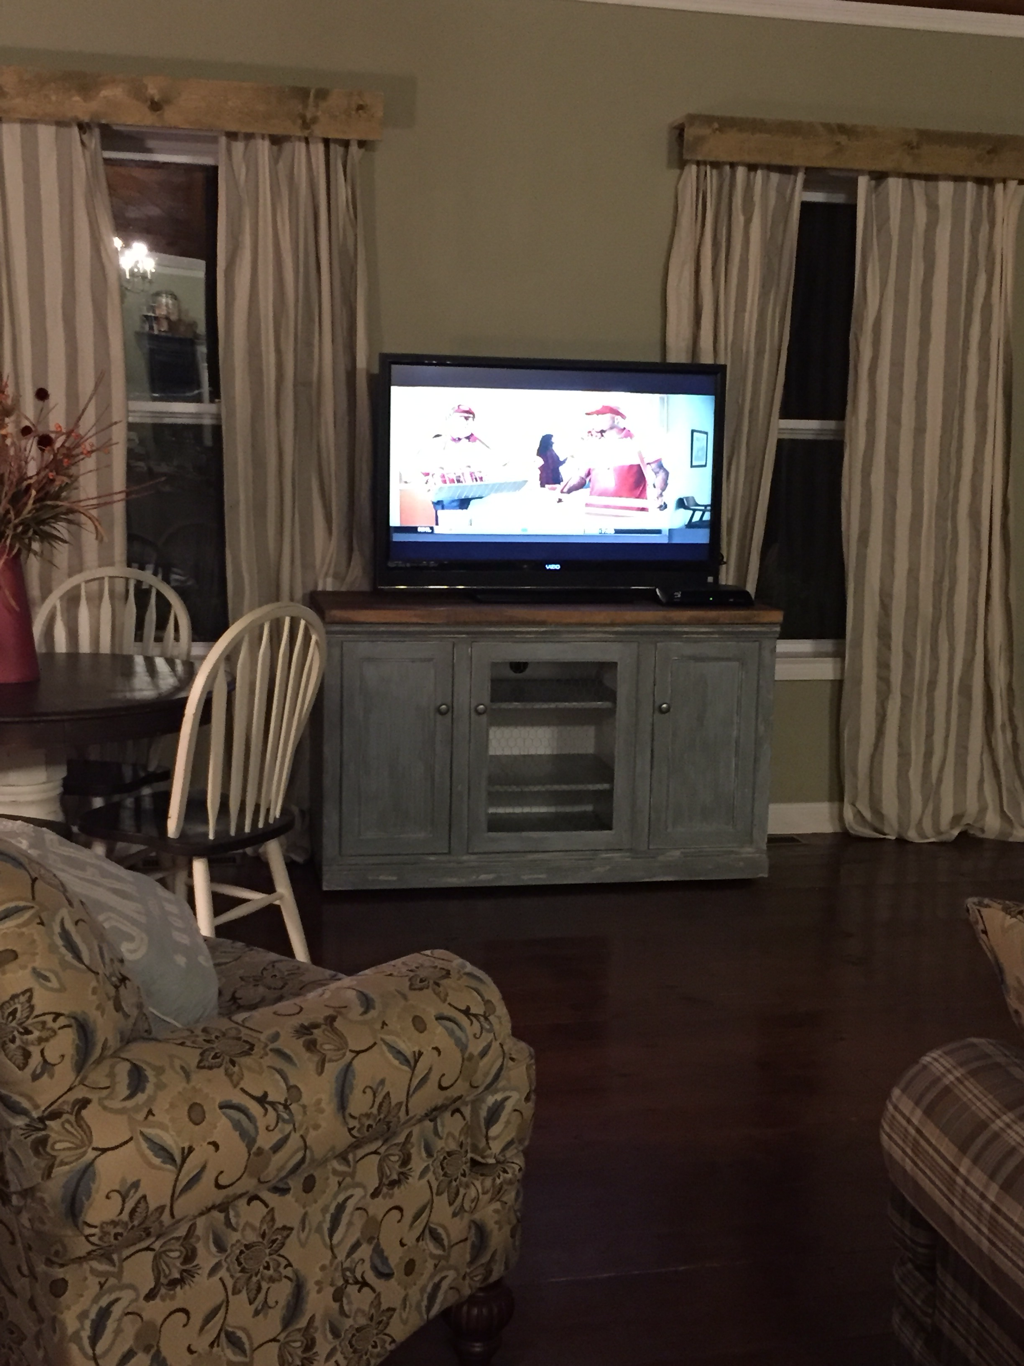
This is the big picture of the den. I needed to get some curtains, but I wanted to get the right fabric.... and so the adventure begins.
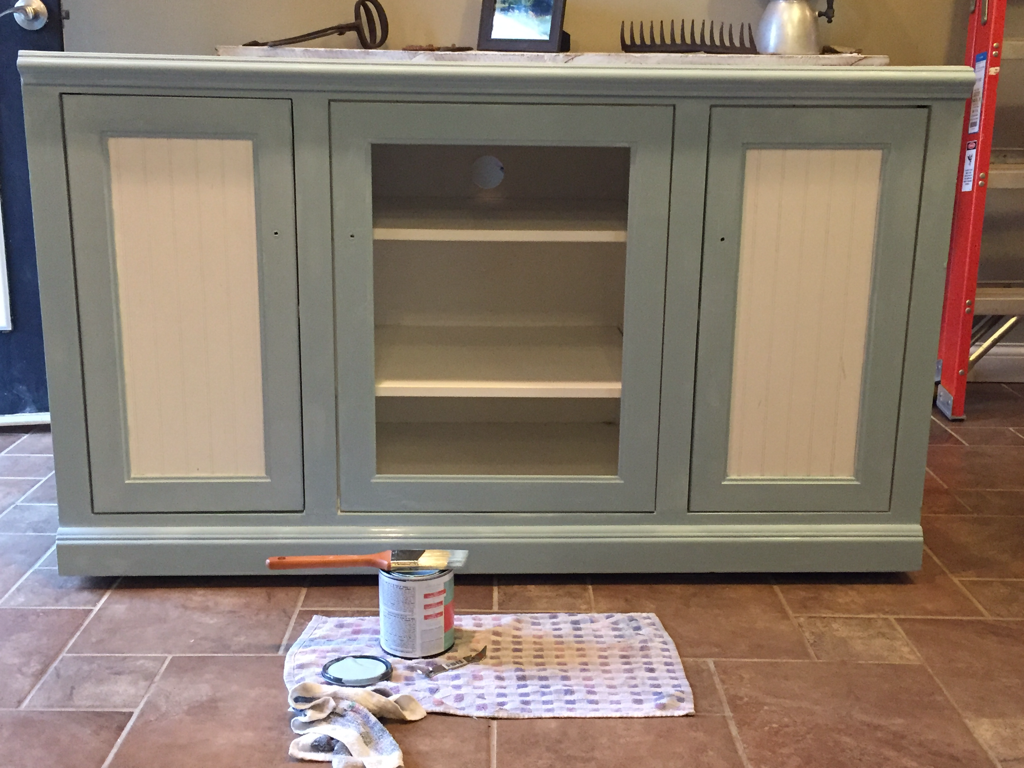
Back to the TV stand....we added some chalk paint to give it some color.

We scrubbed it and scratched it up to make it look rustic. My mom thought I was crazy for doing it! Think I'm finished? Nah...
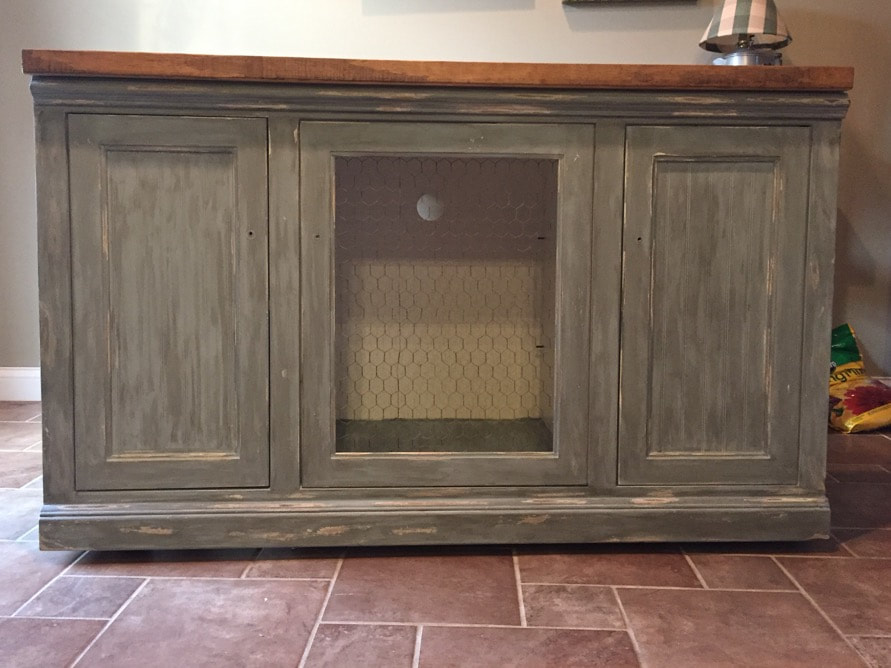
We added some chicken wire and some antiquing glaze. My awesome husband added the wood at the top, too. He stained it a darker color to highlight the antiquing glaze on the stand.
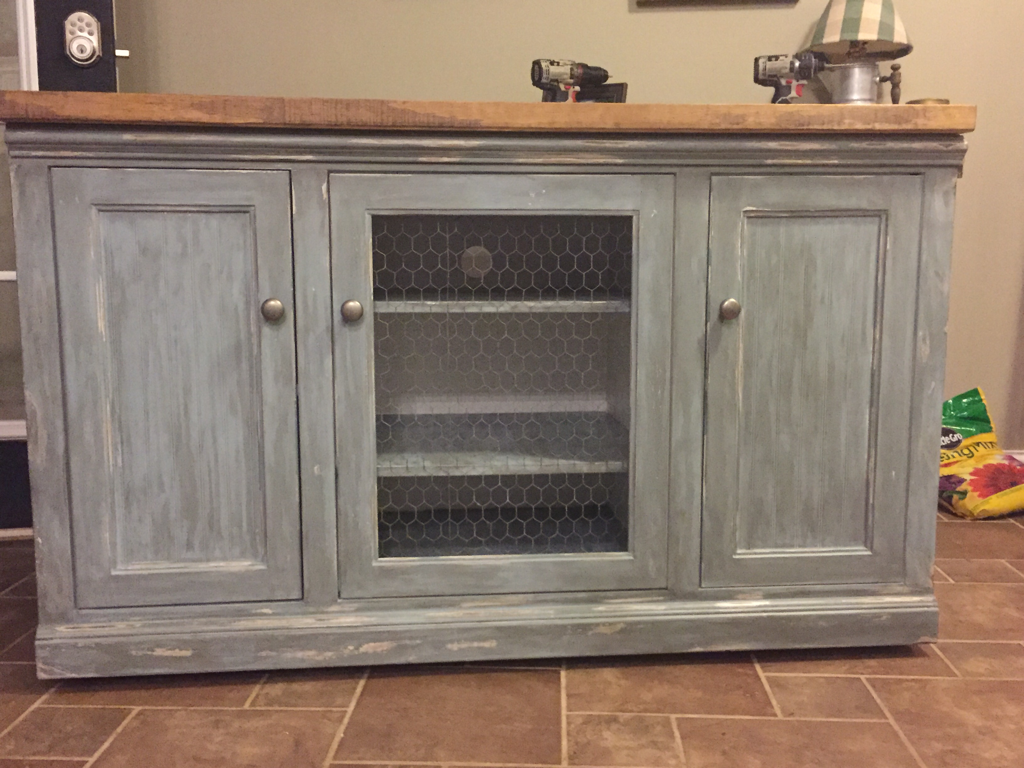
We put the knobs back on and the shelves back in. Now I need to fill it with cute and random things from Hobby Lobby, right?
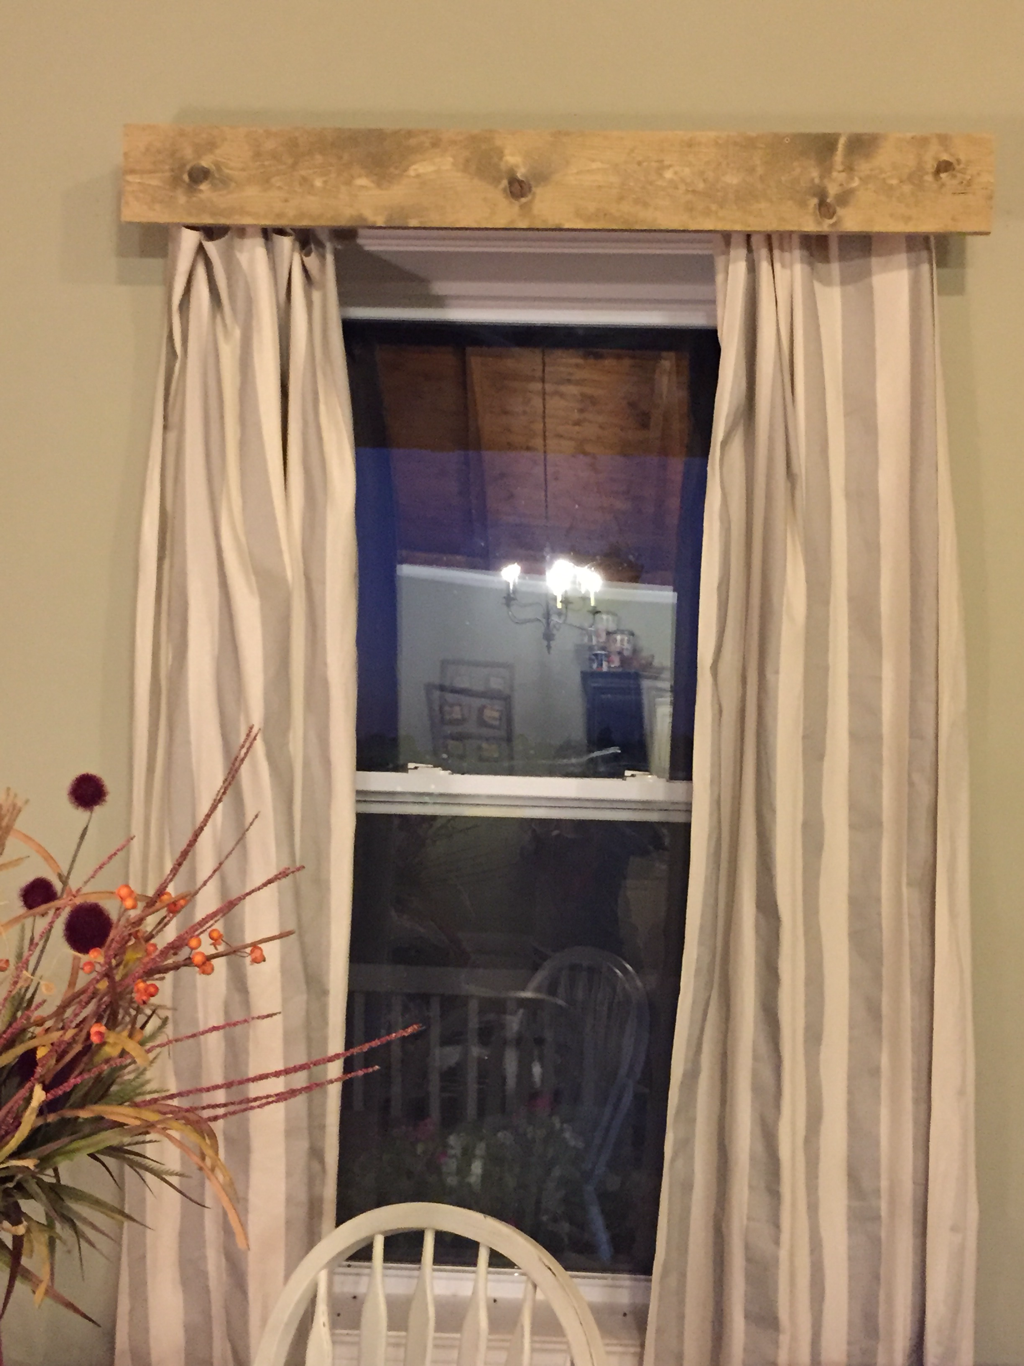
In the meantime I found fabric for my curtains. I went to three different Hobby Lobby stores (yes, in three different towns) to get enough fabric. Don't judge me... it was my Fall Break and I really, really wanted to get it done that week. See that wood piece at the top? My hubby put that there over our curtain rod. It is a shelf so I can put cute little "knick knacks" up there. I think I'll head to Hobby Lobby again. Maybe I can get it all in one store/one day this time. 😉
Laundry Room Remodel
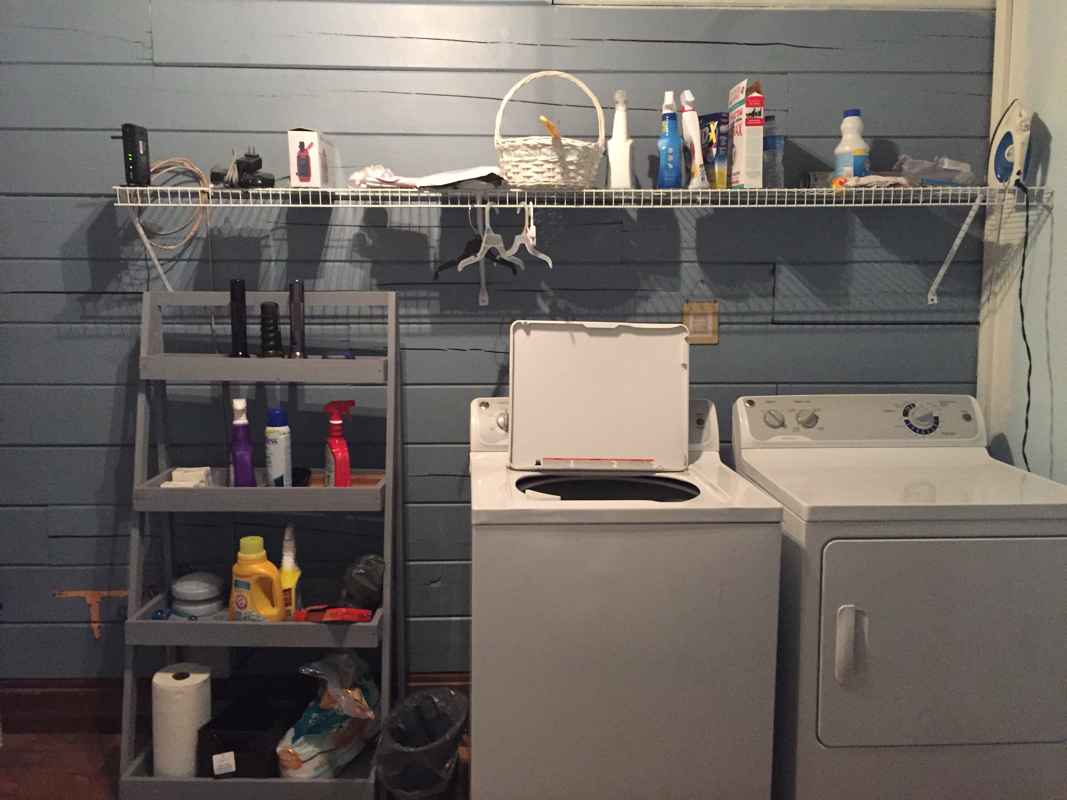
With a family of four, four active family members, I spend a lot of time in the laundry room. Our laundry room even doubled as a pantry, too. If I am going to spend a lot of time there, then I need to make it a place I like to look at. So, here we go...
BEFORE:
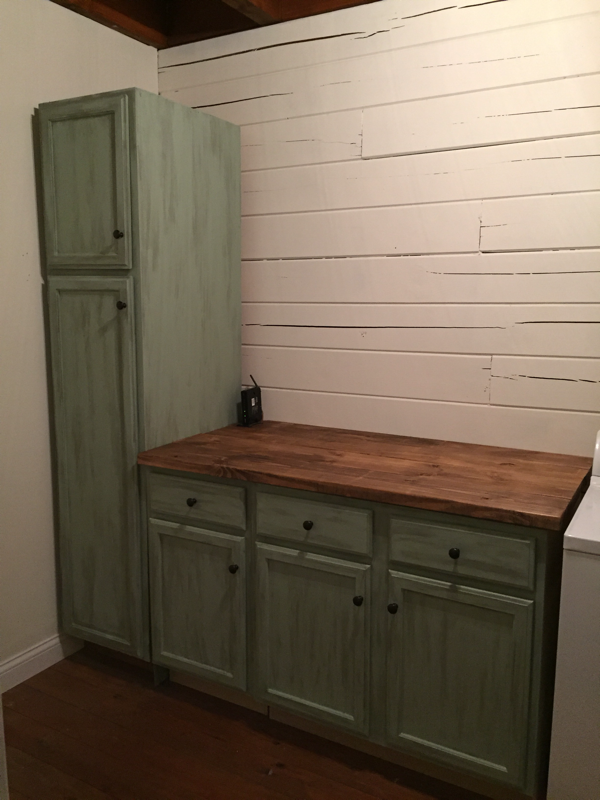
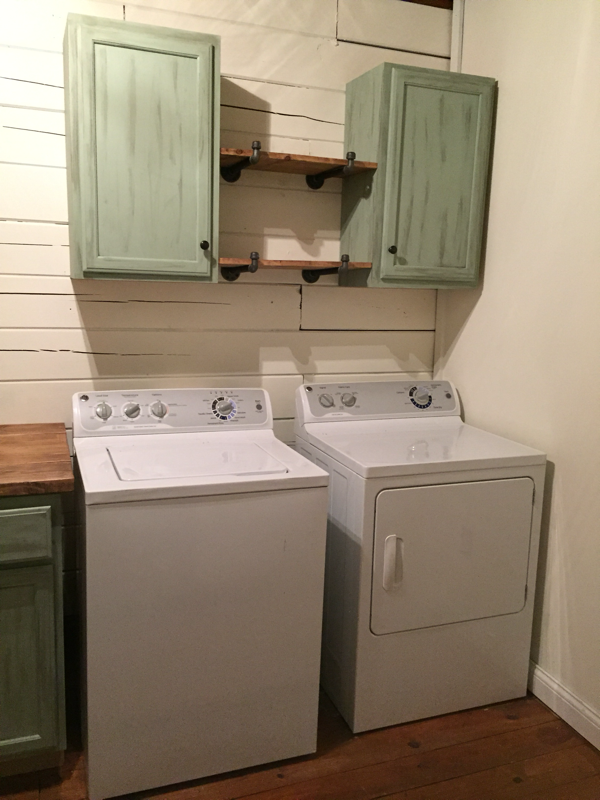
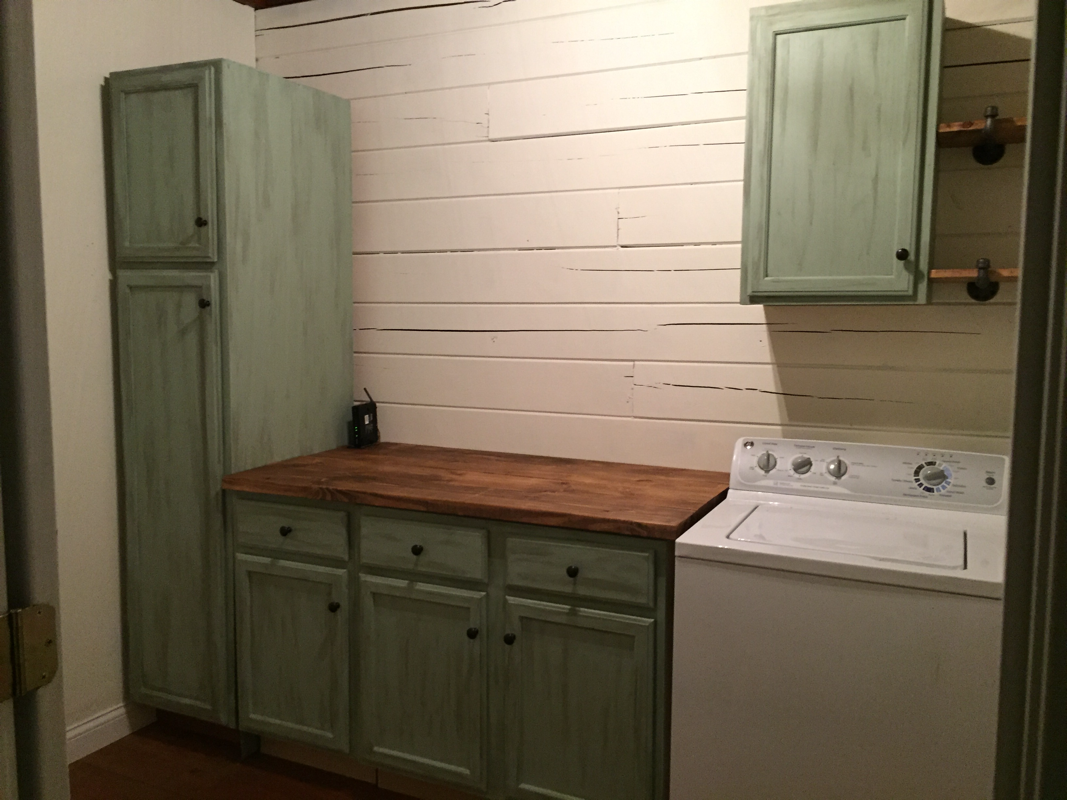
AFTER:
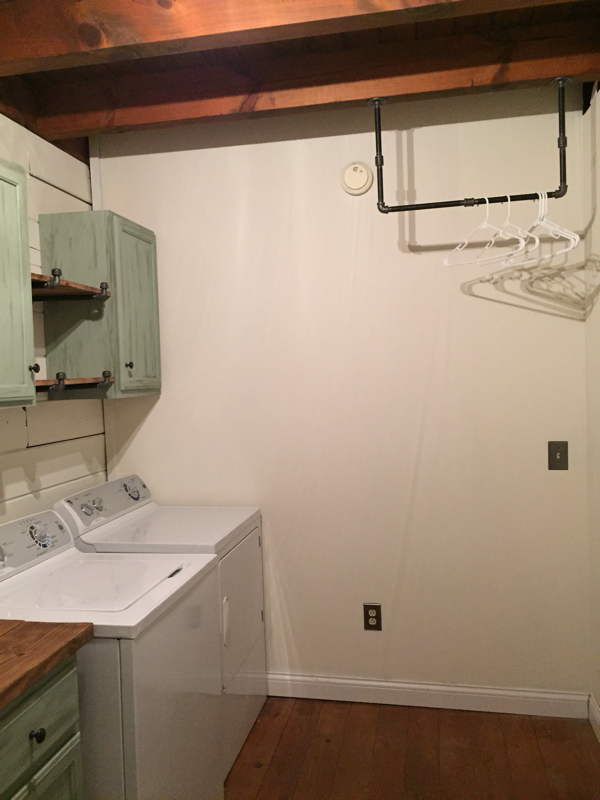
First we decided to make good use of the room by adding storage. We decided to go with some cabinets from Lowe’s. They were already put together but not painted. That was perfect for me!
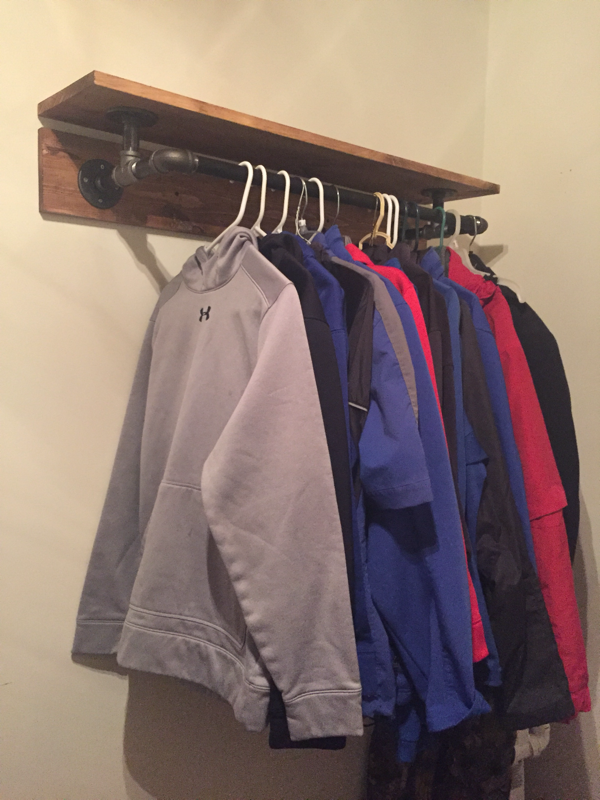
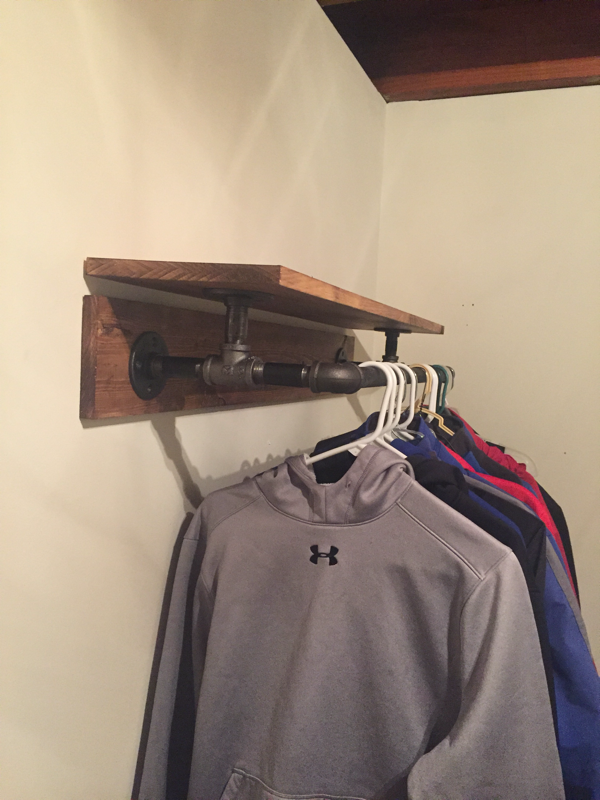
I decided to change the wall color to an off-white. It gave it a good, clean look. What rhymes with clean? GREEN. Why not? So I painted the cabinets green and put on some antiquing glaze. While I was busy painting, the hubster decided to make shelves and use black iron pipes for me to hang shirts that need to air dry or that need to be ironed (yuck, I hate ironing). One wall serves as a place to hang all his jackets. I moved the “pantry” out and put in the hall closet. Pictures are below⬇️
I decided to change the wall color to an off-white. It gave it a good, clean look. What rhymes with clean? GREEN. Why not? So I painted the cabinets green and put on some antiquing glaze. While I was busy painting, the hubster decided to make shelves and use black iron pipes for me to hang shirts that need to air dry or that need to be ironed (yuck, I hate ironing). One wall serves as a place to hang all his jackets. I moved the “pantry” out and put in the hall closet. Pictures are below⬇️
Pantry Remodel
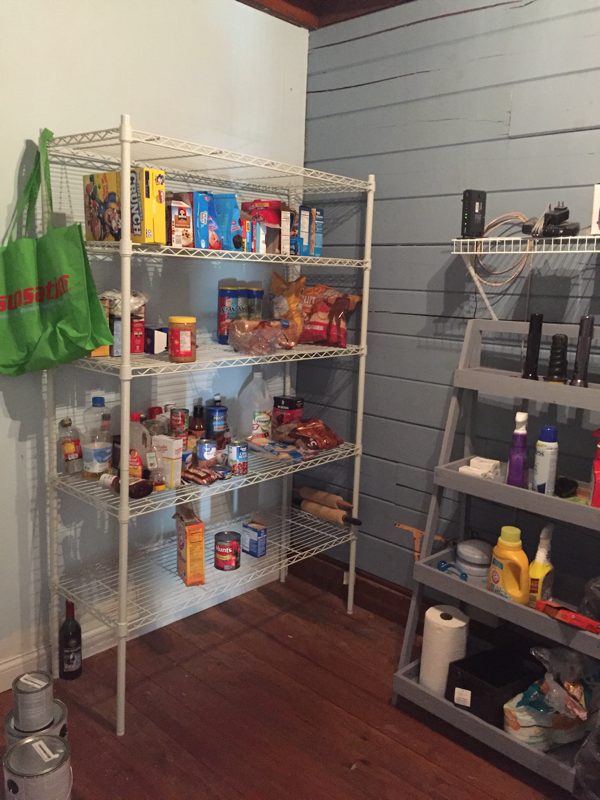
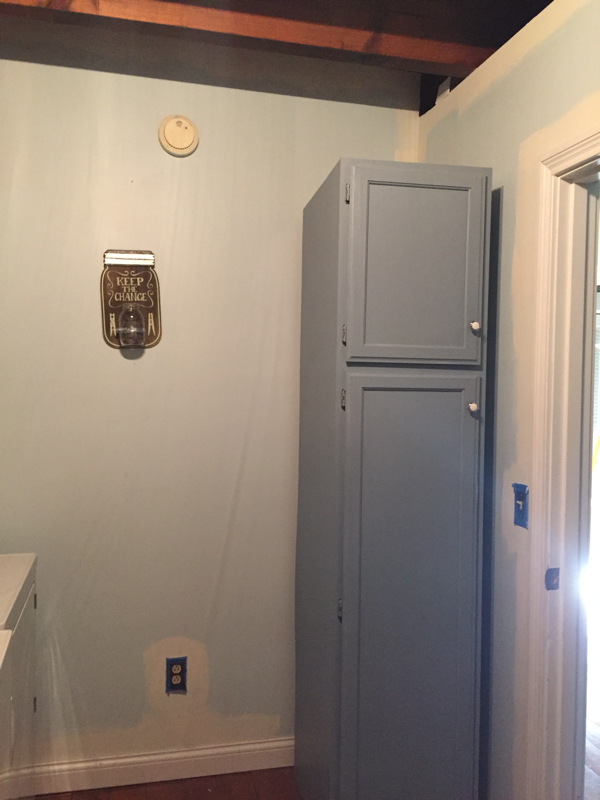
BEFORE:
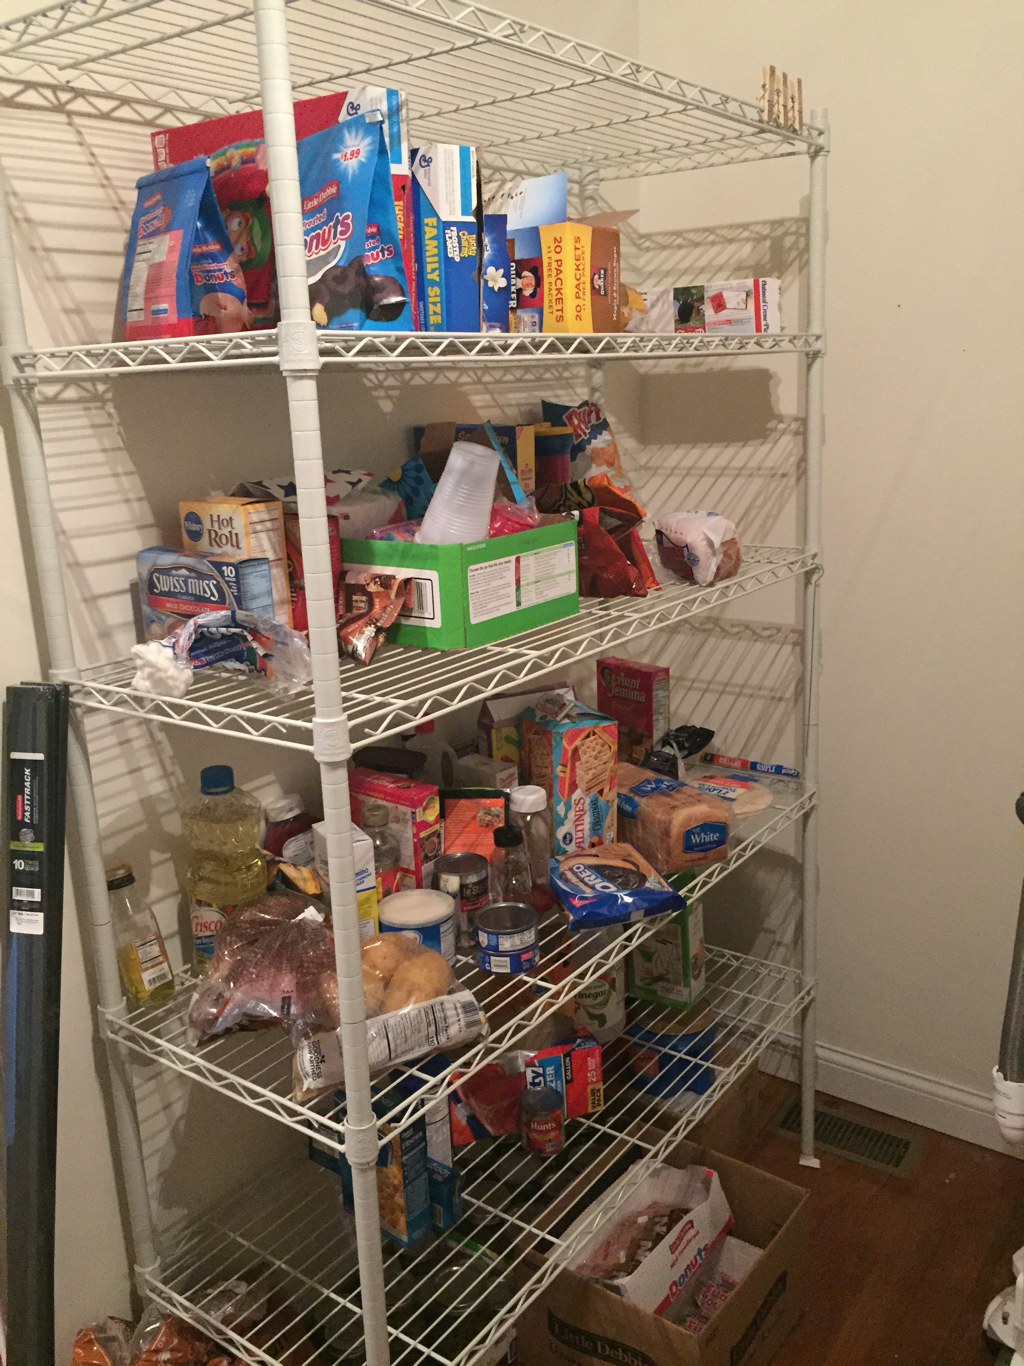
This was still in my laundry room. Nuh-uh. IT HAD TO GO! But where? My kitchen and den is an open concept. It makes for one huge room. This would be out of place there. Well, I have a hall closet... is that crazy?
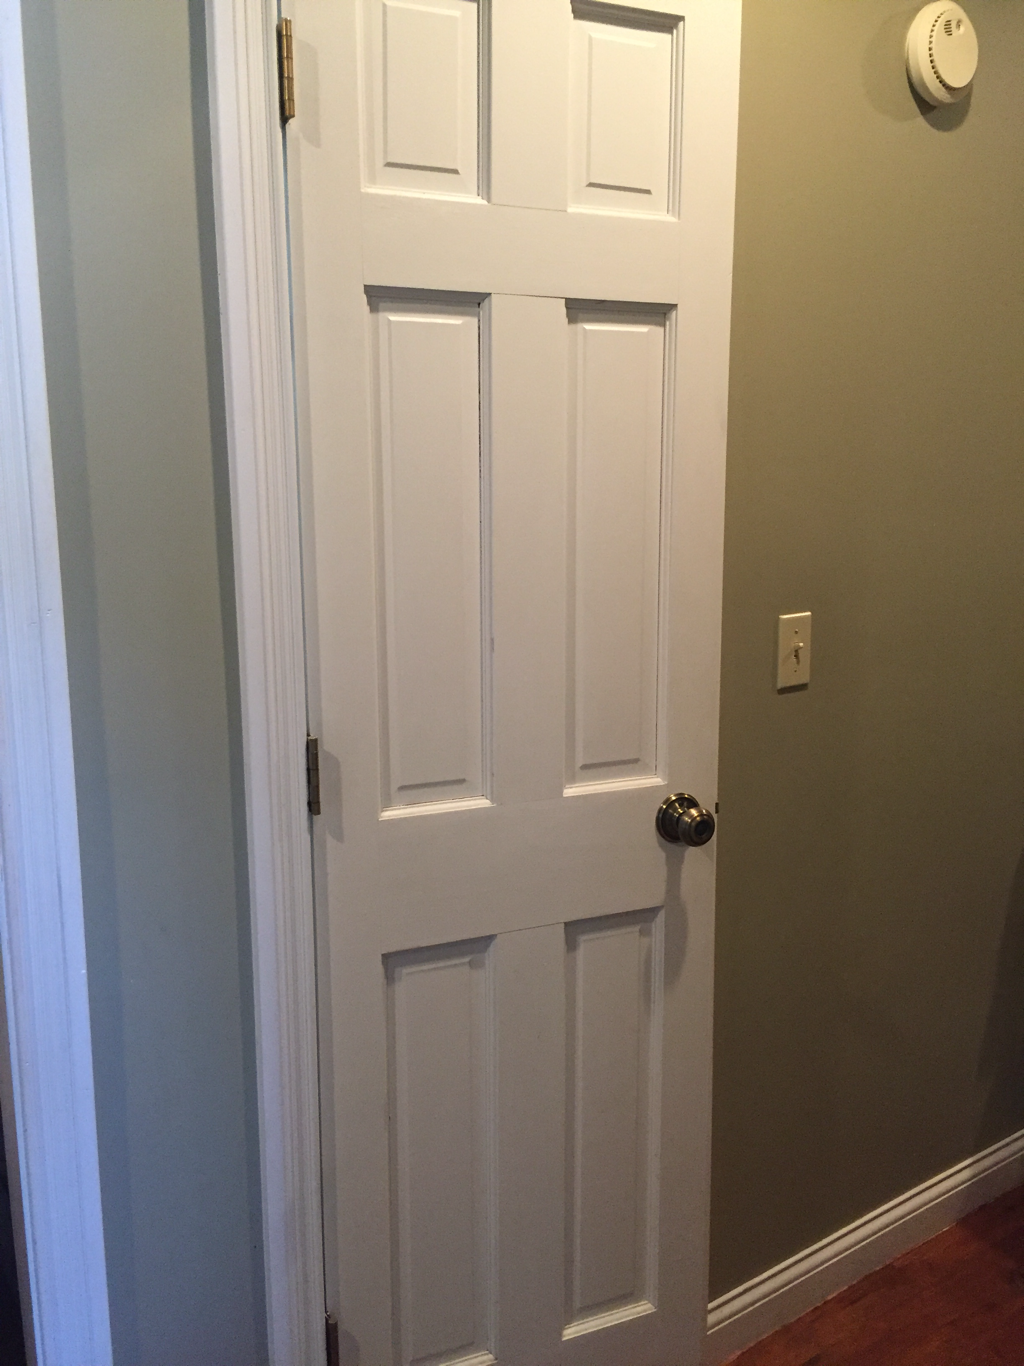
Hang with me. I know it may seem nuts, but with some paint and some shelves... it can work. Fingers crossed. 🤞🏻
AFTER:
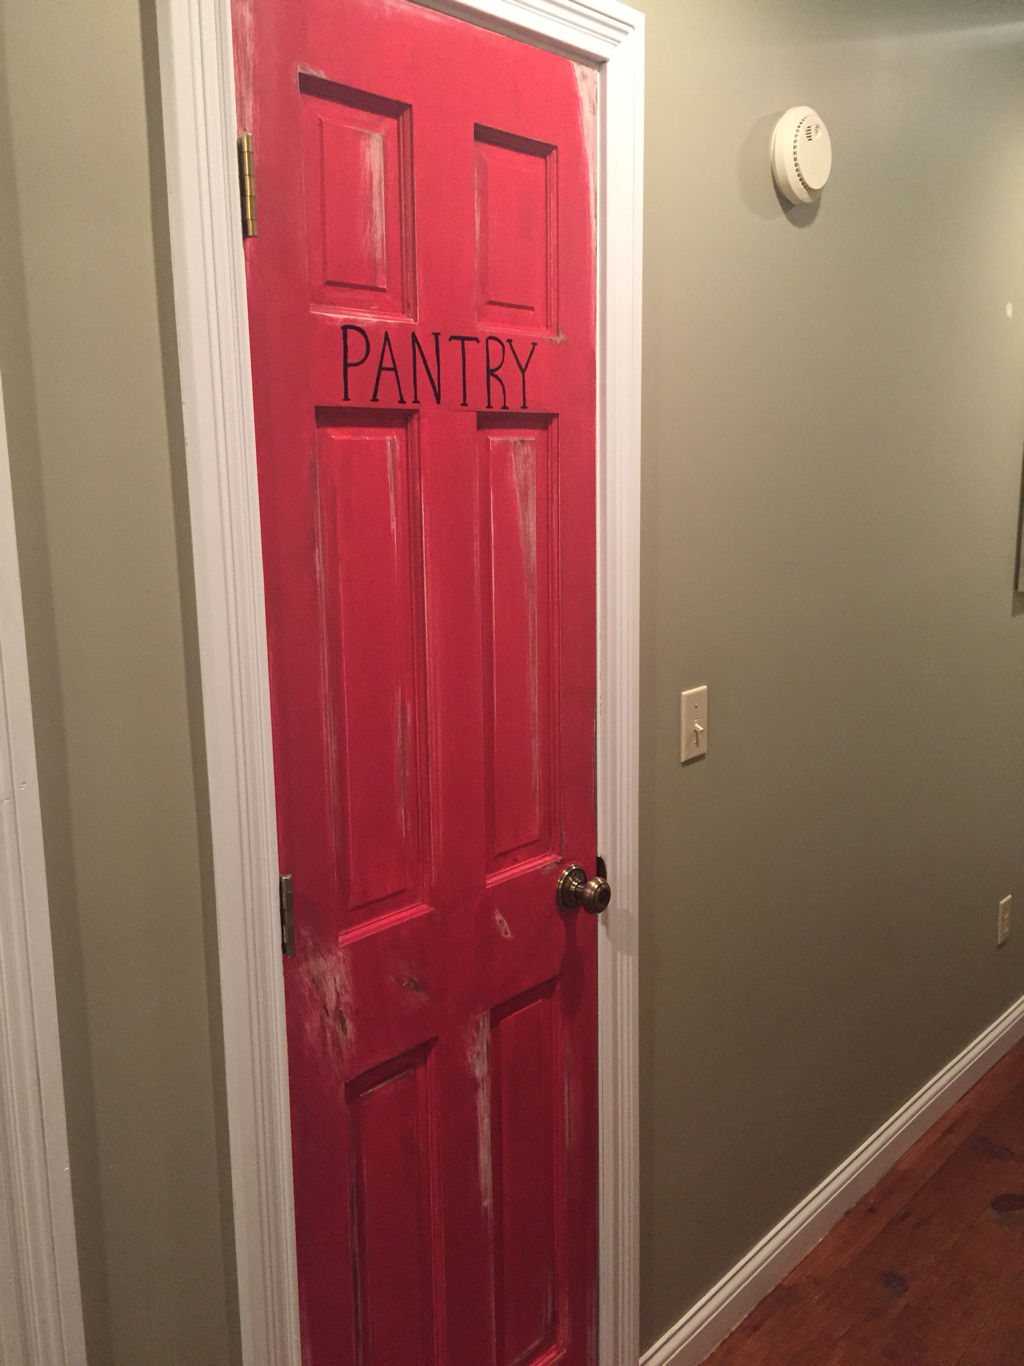
I LOVE the change.
I painted the door red, scratched it up (have you noticed I do that on everything), and then rubbed some antiquing glaze on it. Me + antique glaze = BFF
I also wrote PANTRY on the door, in case anyone needed to know 🤷♀️
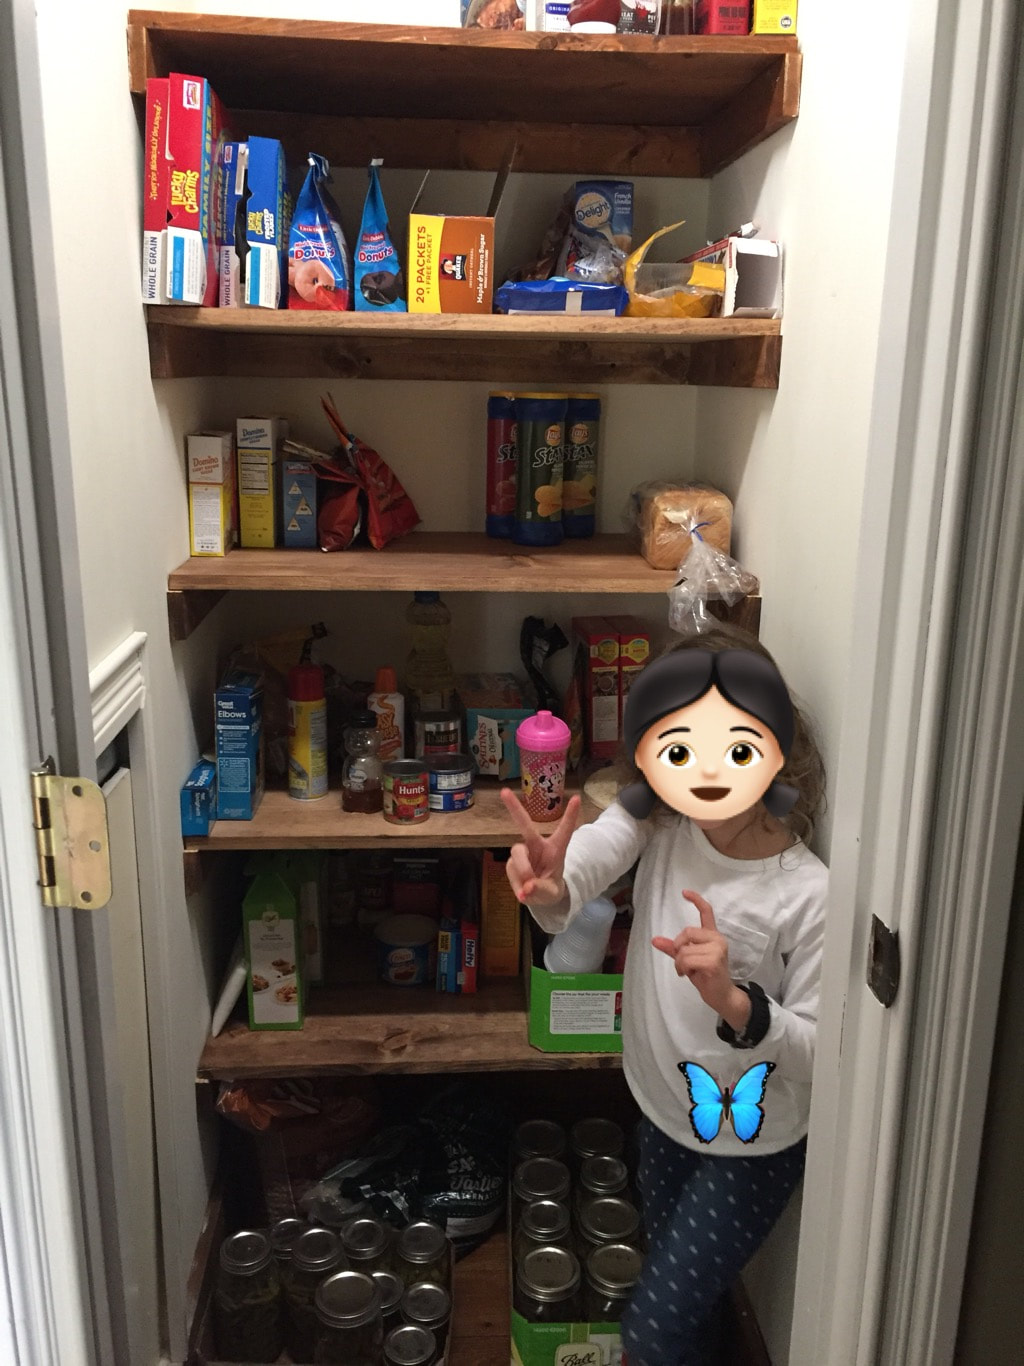
My husband added the shelves where there used to be a rod to hang clothes. And voila, we have a new pantry.
I painted the door red, scratched it up (have you noticed I do that on everything), and then rubbed some antiquing glaze on it. Me + antique glaze = BFF
I also wrote PANTRY on the door, in case anyone needed to know 🤷♀️
My husband added the shelves where there used to be a rod to hang clothes. And voila, we have a new pantry.
Mudroom Remodel
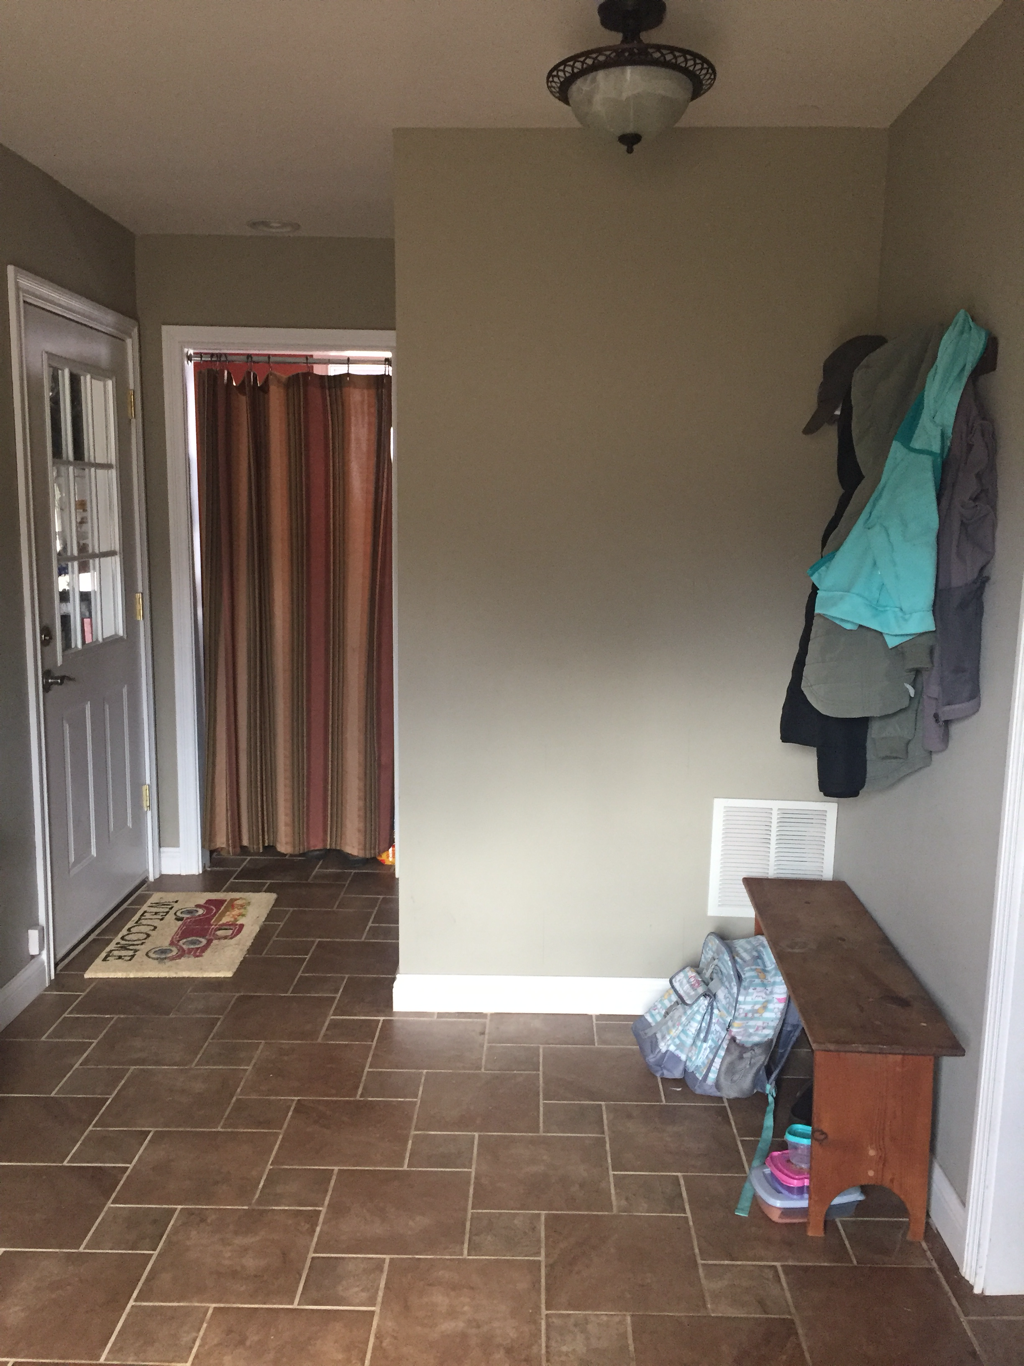
BEFORE:
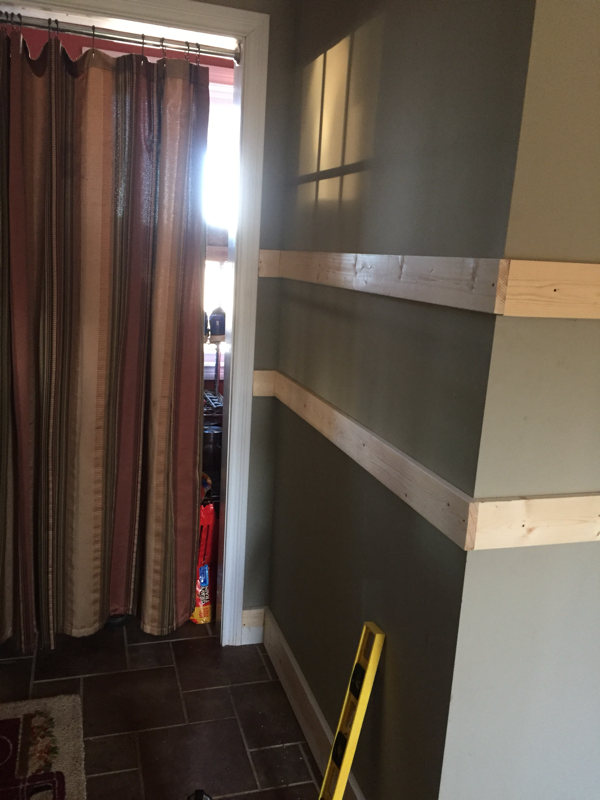
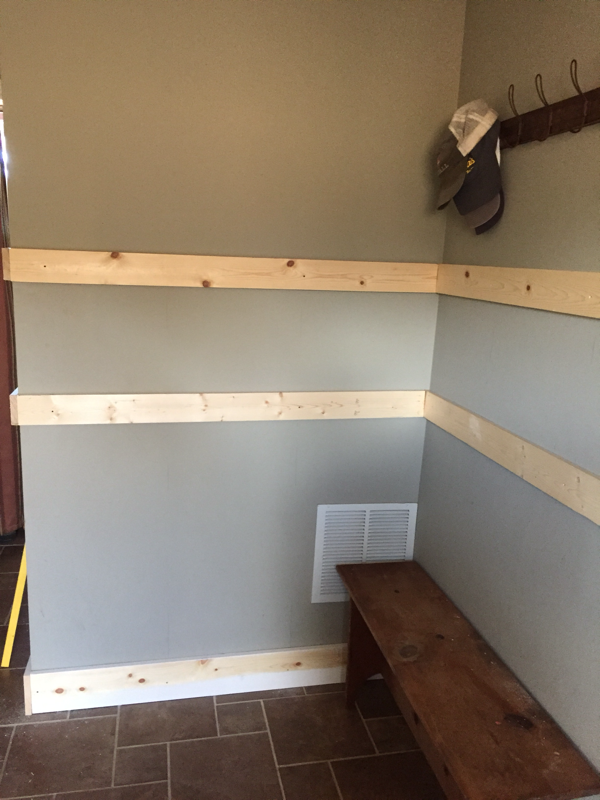
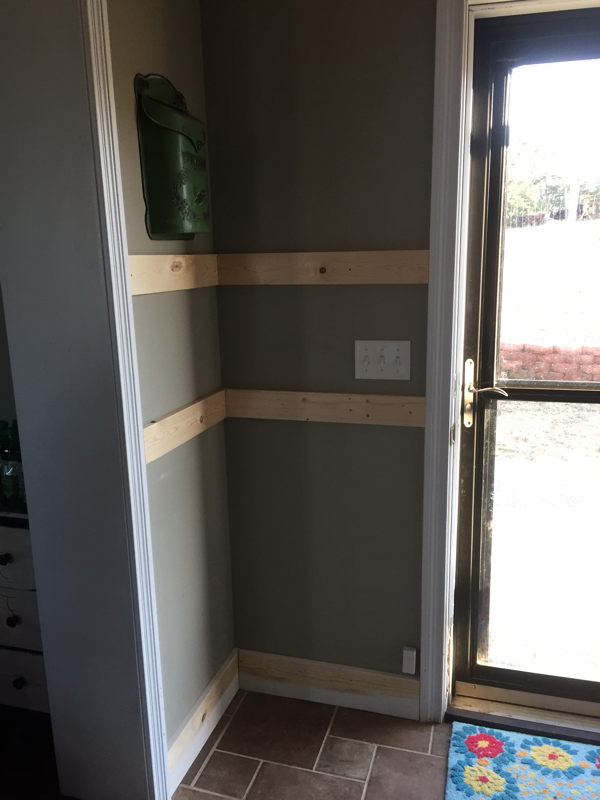
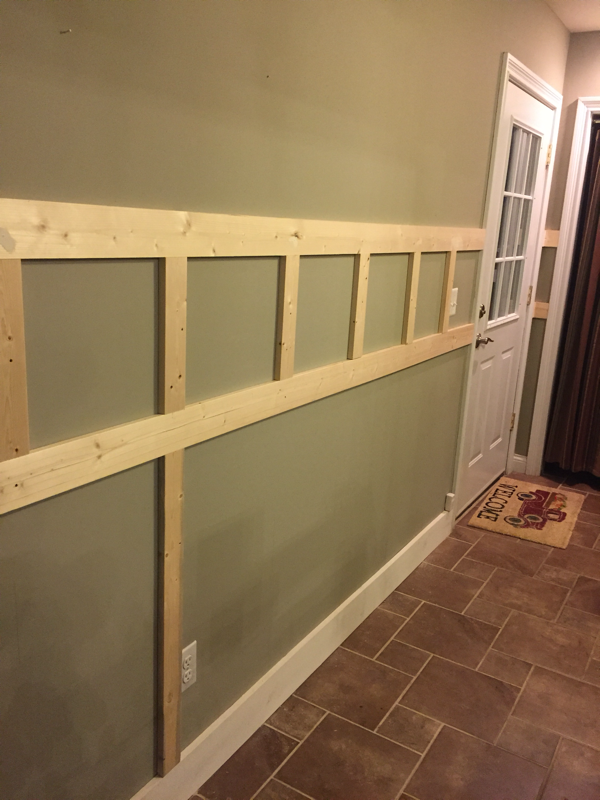
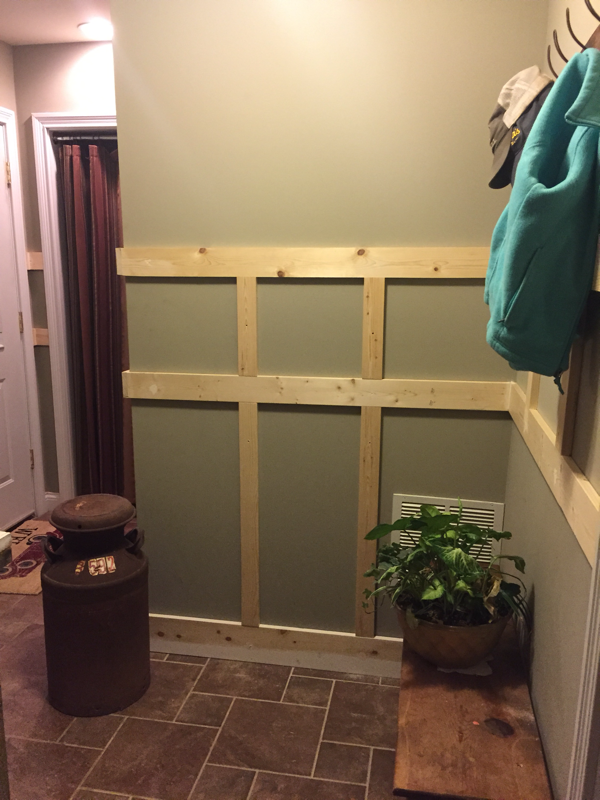
DURING: board and batten
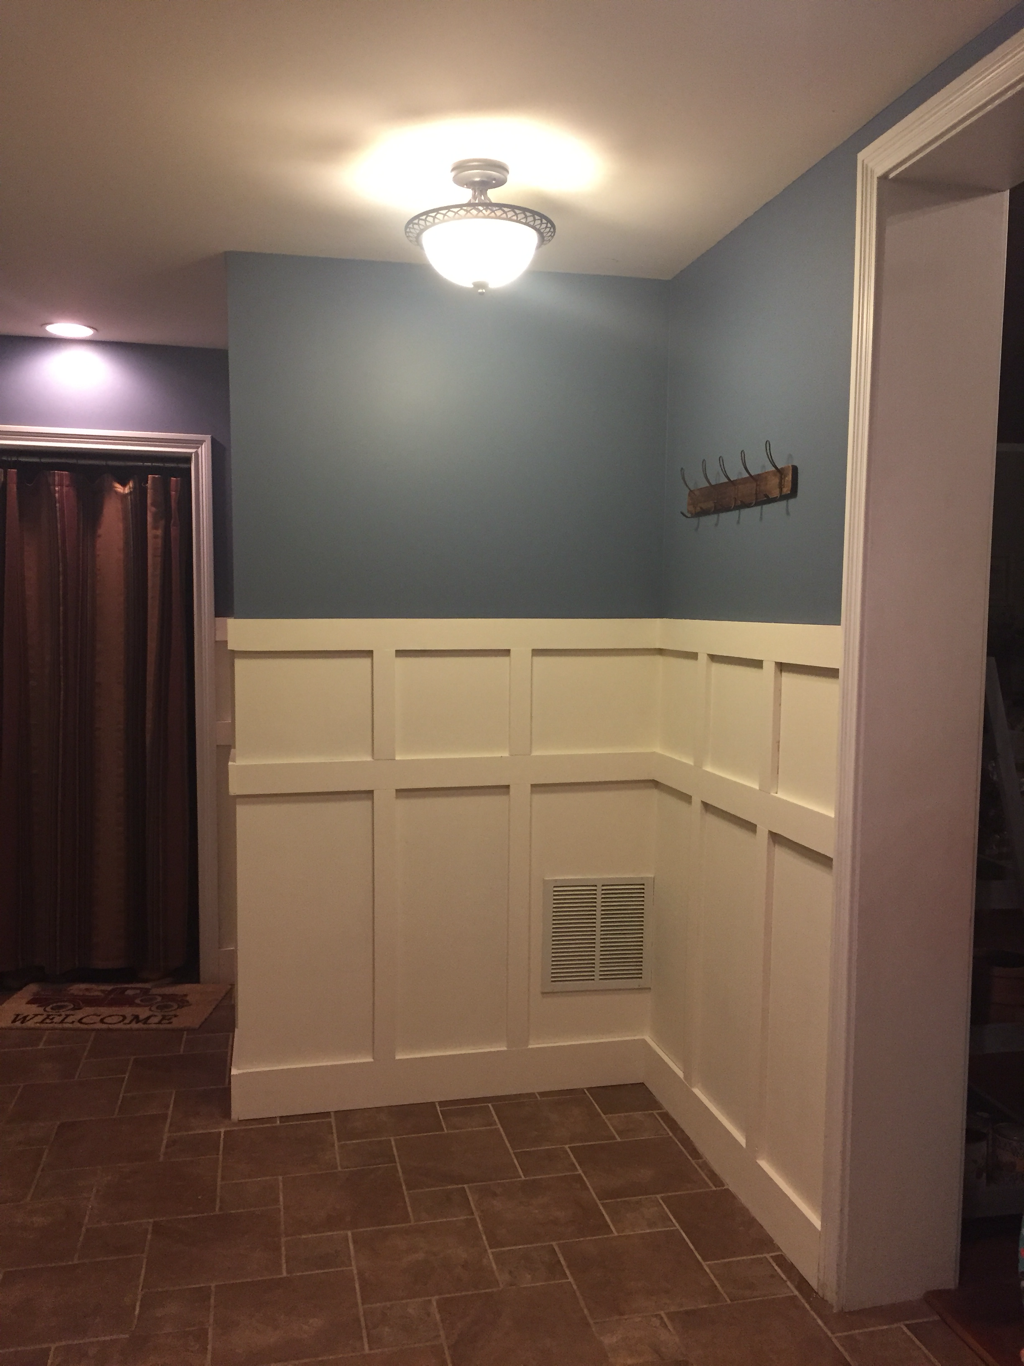
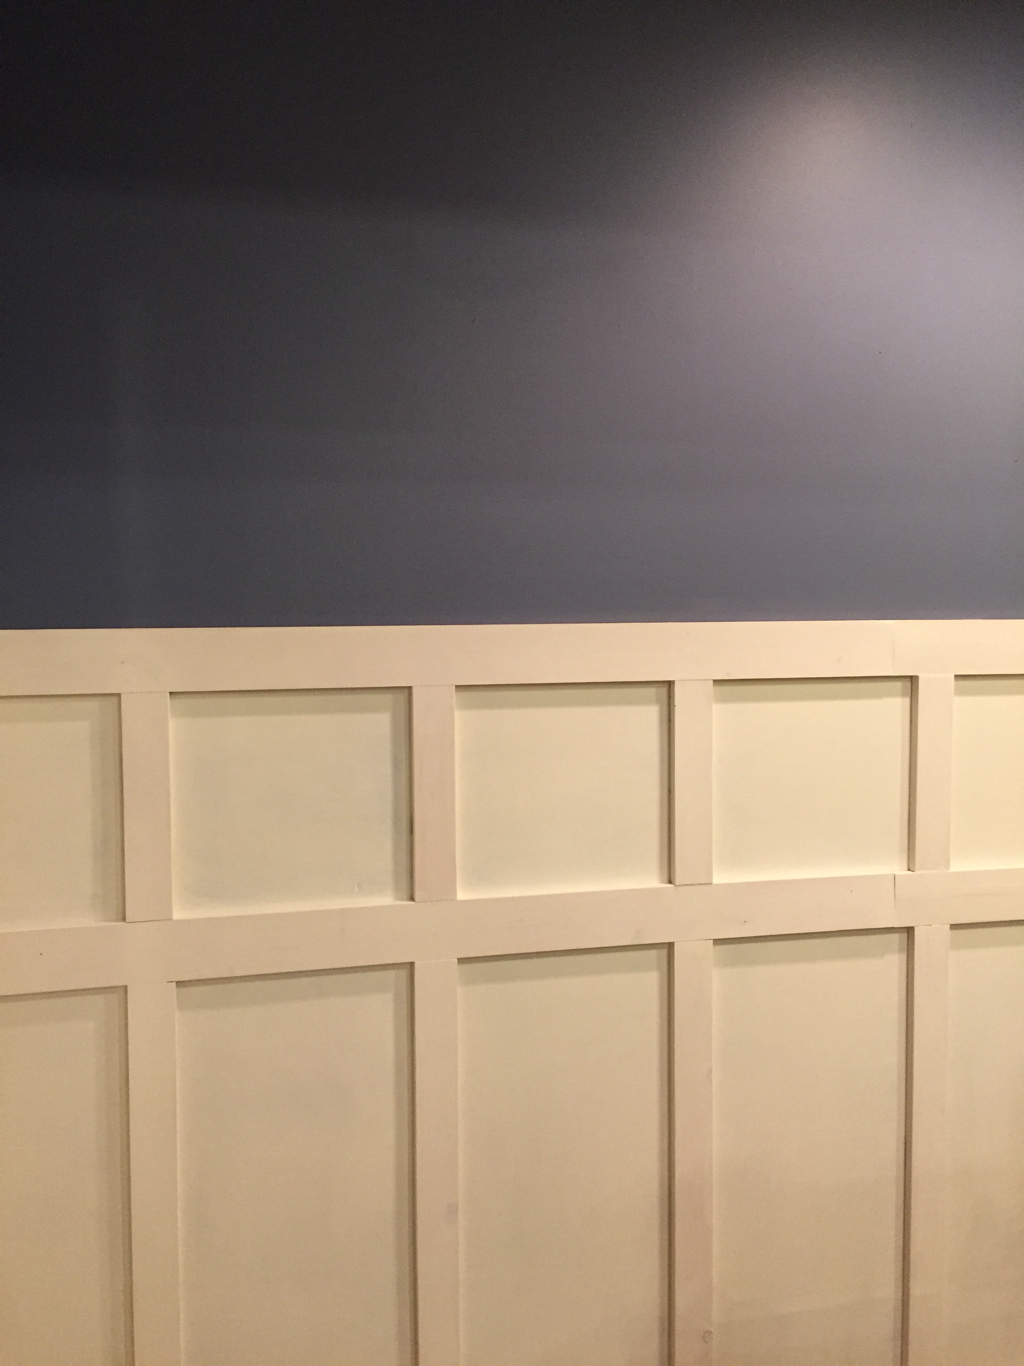
AFTER:
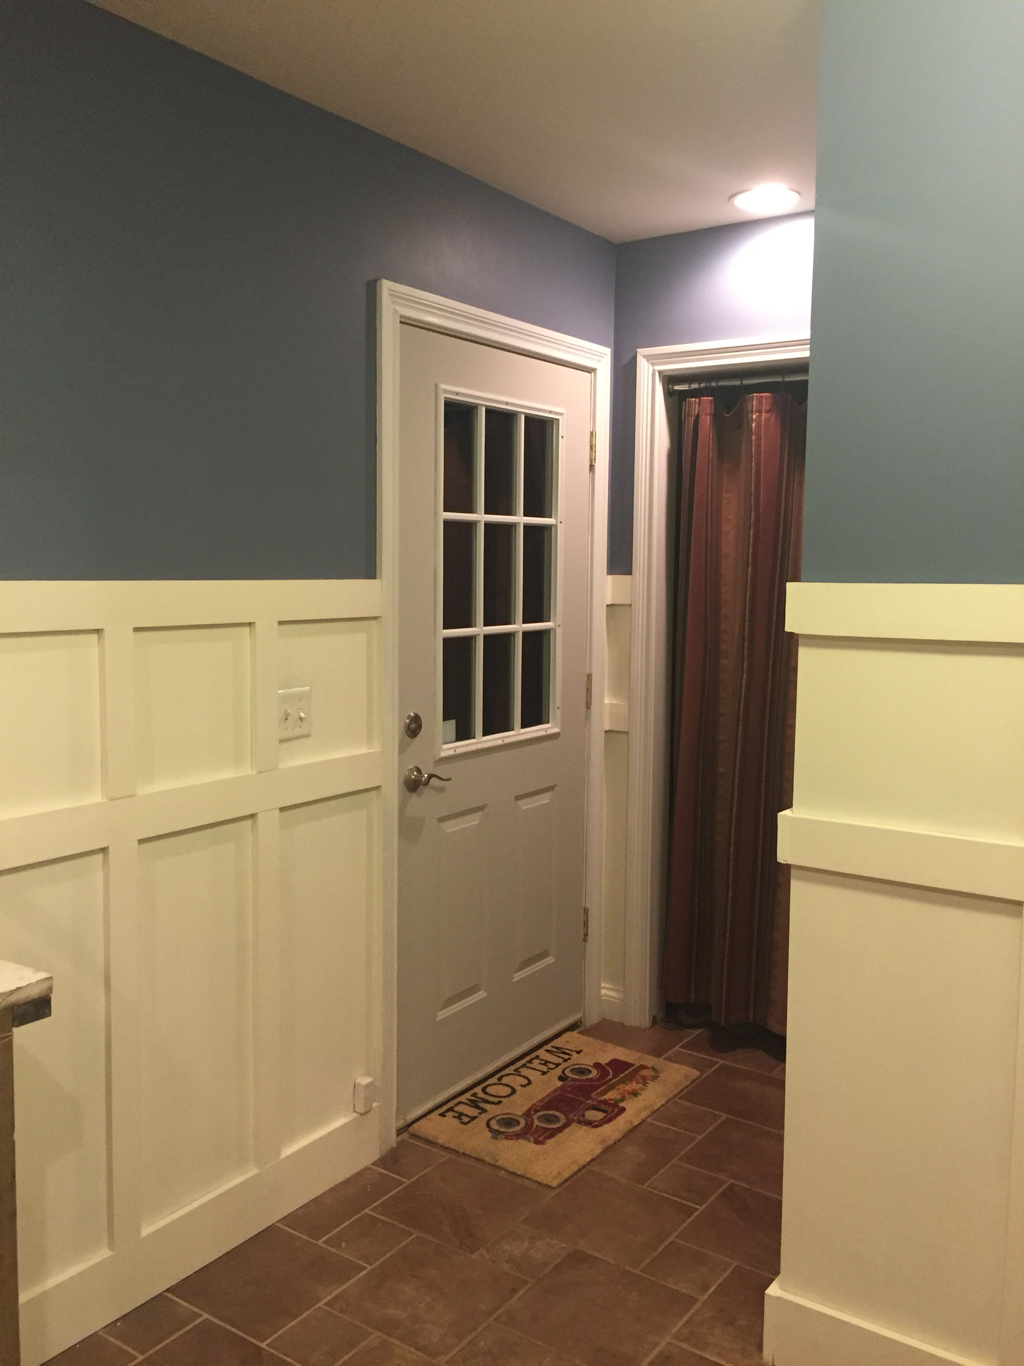
A mudroom... the place we take off our shoes, our jackets, and thrown down our bags. It’s never organized and always a mess. Yours is, too, right? Well, we decided to clean it and lighten it up a bit. My husband had been eyeing a board and batten project on Pinterest. I said, “Let’s do it!”
First, he added the boards. Then we painted it an off white. A bright white paint means I’d have to keep it super clean. Let’s be reasonable, ok? Then we painted the wall space above the boards my fav color.... a rustic blue. One miracle here: I didn’t scratch anything up and I didn’t use antiquing glaze. 😋 I still enjoyed it though.
oh, did you see the door? I painted it gray. I got tired of those dirty finger prints all over it so I thought, “Why not try and hide it?” So, gray it is.
